
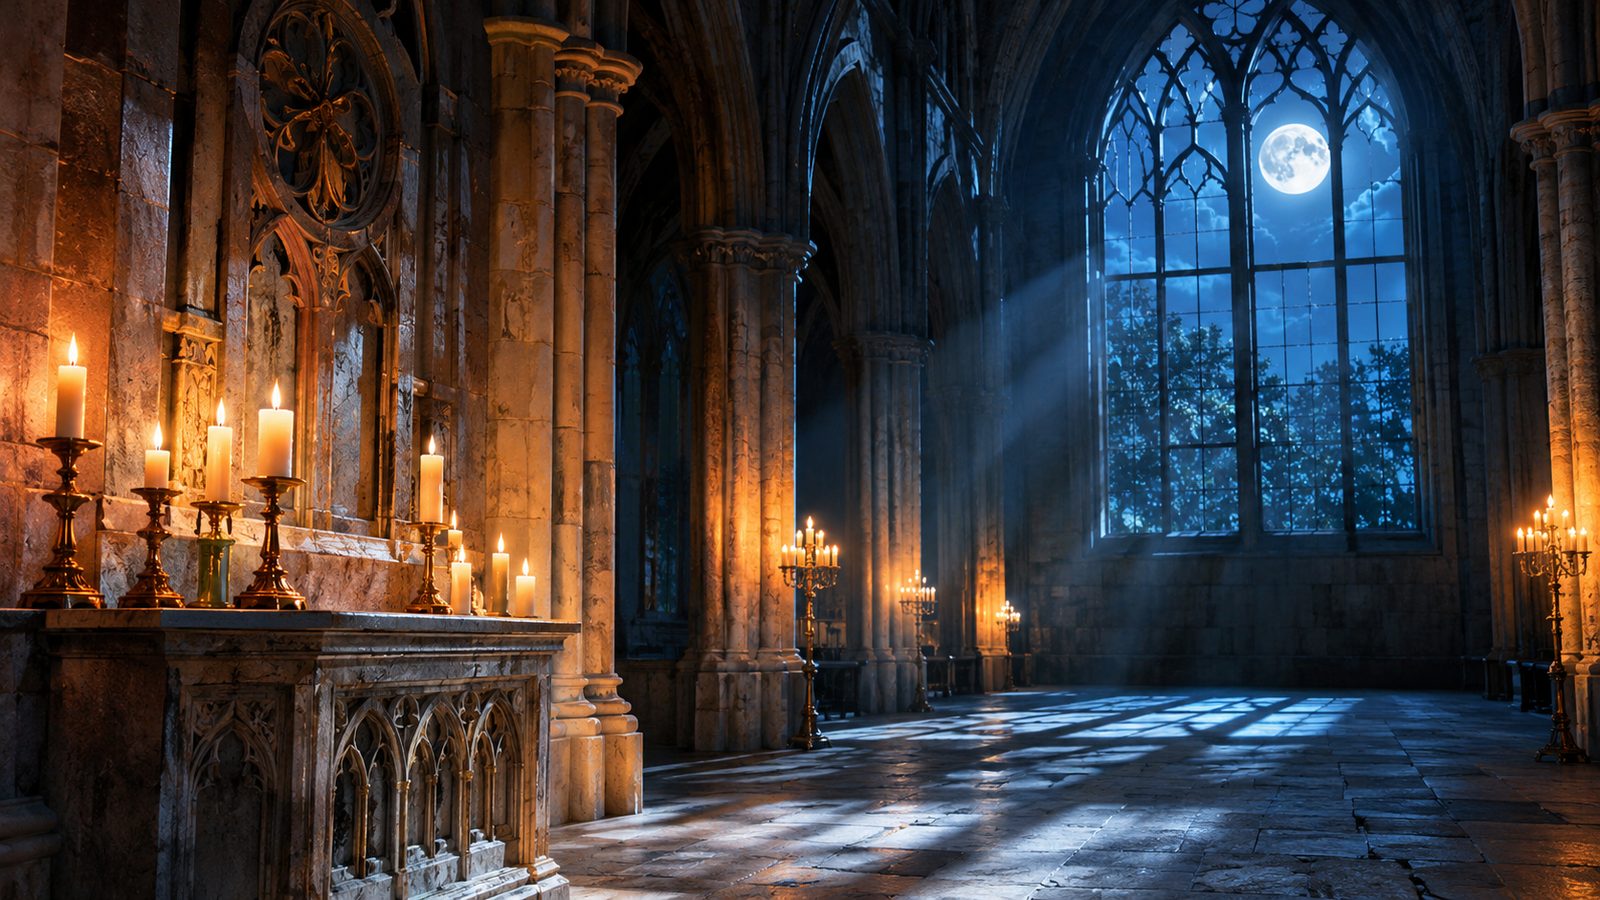
Vicar Amelia is a required Bloodborne boss found inside the Grand Cathedral in Cathedral Ward. She is vulnerable to fire and serrated weapons, while her healing prayer becomes the fight’s main complication. Stay near her flanks, damage individual limbs, and keep Numbing Mist ready once her health falls below half. For more game guides and features, see the Magbuff gaming section.
| Key fact | Answer |
|---|---|
| Game | Bloodborne |
| Developer | FromSoftware |
| Original platform | PlayStation 4 |
| Release year | 2015 |
| Location | Grand Cathedral, Cathedral Ward |
| Optional? | No |
| Main weaknesses | Fire and serrated attacks |
| Healing counter | Numbing Mist or enough pressure to interrupt her |
| Recommended level | Around 30–35 is a reasonable target |
| Main drop | Gold Pendant |
| Co-op | Beckoning Bell can summon online hunters |
| Story role | Head of the Healing Church and bearer of the Gold Pendant |
Quick answer: Beat her by staying beside her legs instead of directly in front. Fire damage and serrated attacks work especially well against her beast form. Below half health, watch for her prayer animation and interrupt it immediately. Numbing Mist prevents the healing effect, making the second half much easier.
Where Is Vicar Amelia in Bloodborne?
The boss waits inside the Grand Cathedral at the upper end of Cathedral Ward. The entrance sits beyond the large plaza and its long staircase. You must first gain access to the cathedral side of the district. There are two established routes into this part of Cathedral Ward. You can buy the Hunter Chief Emblem after obtaining the Sword Hunter Badge. Alternatively, defeat the Blood-starved Beast and reach the area through the Healing Church Workshop. The Hunter Chief Emblem costs 10,000 Blood Echoes from the Bath Messengers. It opens the main gate leading toward the cathedral plaza. The alternate route avoids paying that price but requires more exploration.
How to Reach the Grand Cathedral
- Reach Cathedral Ward after defeating Father Gascoigne.
- Open access to the cathedral plaza through either available route.
- Cross the plaza and work upward through Cathedral Ward.
- Climb the large staircase leading toward the Grand Cathedral.
- Enter the cathedral to begin the boss encounter.
Opening the area’s shortcuts before fighting is useful for repeated attempts. The route contains several dangerous Church enemies around the plaza and stairs. Clearing or bypassing them preserves Blood Vials before entering the arena.
Is Vicar Amelia Optional?
No. She is classified as a required main-story boss in Bloodborne. Progress toward the Forbidden Woods depends on defeating her and inspecting the altar afterward. The altar interaction reveals the password needed for the guarded Forbidden Woods entrance. It also changes the game’s time state from evening to night. The transition is sometimes incorrectly described as triggering the Blood Moon, which happens later. Defeating her also causes a Grand Cathedral lamp to appear. This gives you a convenient new warp point after the battle. Players with The Old Hunters expansion also need this progression before reaching its content.
Recommended Level and Preparation
A character level around 30–35 is a sensible target for this part of Cathedral Ward. GameSpot’s original boss guide recommended level 35. The area’s detailed community documentation places new players around levels 25–35 with a +3 weapon. Level alone will not decide the fight. Weapon reinforcement and enough Vitality to survive mistakes matter considerably. A properly upgraded weapon also makes stopping the healing prayer much easier. Before entering, consider bringing:
- A reinforced weapon you already know well.
- Fire Paper if your weapon accepts buffs.
- Numbing Mist for the healing prayer.
- A full supply of Blood Vials.
- Quicksilver Bullets if your build needs them.
- A serrated weapon such as the Saw Cleaver or Saw Spear.
Fire Paper becomes particularly useful because the boss is a beast. The Saw Cleaver and Saw Spear can also benefit from serrated damage against beasts. You do not need either weapon specifically, but both match her documented vulnerabilities.
Vicar Amelia Weaknesses and Best Damage Types
Her clearest weaknesses are fire and serrated attacks. Fire Paper, the Flamesprayer, and other fire sources can therefore provide useful extra damage. Serrated weapon forms also gain their normal bonus against her beast classification. Her limbs create another important opportunity. Repeated damage to individual limbs can cause a stagger. A damaged limb then becomes more vulnerable until it recovers. This makes focused pressure better than randomly striking different body parts. Target a leg when you can safely remain near her side. Limb staggers create openings for additional attacks and can lead to visceral opportunities.
How to Stop Her Healing Prayer
The healing prayer starts after the boss falls below roughly half health. She clasps her claws together and begins restoring health. Allowing that animation to continue can erase a significant amount of progress. Numbing Mist is the safest dedicated counter. Throwing it at her prevents the healing effect for a period. You can also stop the prayer by attacking aggressively enough to interrupt or stagger her. Keep Numbing Mist ready before the second phase begins. Do not spend several seconds searching through your inventory after the animation starts. Immediate pressure matters because the recovery occurs during the prayer itself. If you lack Numbing Mist, stay close enough to respond quickly. Preserve some stamina rather than emptying the bar on every opening. When she begins praying, use that reserve to attack and break the recovery.
Phase One: Key Attacks and Positioning
The opening phase is slower and easier to read. Her main threats include broad sweeps, jumping attacks, a grab, and a forward shockwave. Many attacks cover more distance than her slow movement initially suggests. Avoid standing directly in front of her for extended periods. Her sweeping claws and frontal attacks are strongest there. Moving toward a side or hind leg gives you better attacking angles. Several important attacks deserve special attention:
- Axe-handle smash: She brings both arms down and sends a shockwave forward.
- Jumping slam: She jumps toward the hunter and strikes on landing.
- Cross sweep: Both arms sweep across a wide area in front.
- Gnashing grab: A close frontal grab can catch stationary hunters.
- Uppercut sweep: A delayed sweeping attack can punish an early dodge.
Her delayed attacks make panic dodging dangerous. Watch the actual swing instead of reacting only to the initial windup. Once she finishes a long attack, move in for controlled hits against a limb.
Phase Two: Healing, Faster Combos, and Pressure
Below half health, the fight becomes more aggressive. She adds her recovery prayer and longer attack sequences. Her ability to close distance also becomes more dangerous when you retreat. The most important new move is the healing prayer. Counter it immediately with Numbing Mist or sustained attacks. Giving her space at the wrong moment allows the fight to become longer and more resource-intensive. She also gains a frantic multi-hit combination during this phase. Back away or move sideways rather than trying to trade through it. Once the sequence ends, return to a flank and resume focused limb damage. Her stronger slam can create another long-range frontal shockwave. A sideways dodge is safer than retreating along its path. Keep the center of the cathedral available whenever possible, since walls can restrict your movement.
A Simple Fight Strategy
Start the encounter by closing distance without running directly into a frontal swing. Move toward one side and attack a leg with short combinations. Leave enough stamina to dodge her response. After every large slam or leap, punish the recovery instead of chasing constantly. Concentrate hits on one limb whenever possible. If she staggers, use the opening rather than immediately changing targets. Once her health approaches half, prepare Numbing Mist. Interrupt every healing attempt as soon as you recognize the prayer. Continue using fire or serrated damage while avoiding her longer second-phase combos. Patience remains important despite the need for pressure. Aggression should target safe openings rather than become constant button mashing. A few controlled hits followed by repositioning are safer than being trapped beneath a full combo.
Co-op With the Beckoning Bell
Online co-op can make the encounter more manageable. Ringing the Beckoning Bell places you into summoning mode and attempts to call another player. Ringing it costs one point of Insight. The Beckoning Bell cannot be used without Insight. Matchmaking also works best when cooperating hunters are in the same general area. Password matchmaking can help specific players connect with each other. Cathedral Ward has an additional progression requirement for co-op access. The main Cathedral Plaza gate must be opened before cooperators can be summoned there. The area’s boss must also still be alive in the host’s world. Players using the later Old Hunters update can also summon Old Hunter Henriett under the correct conditions. Her summon uses the Old Hunter Bell system rather than normal player matchmaking. Two main area gates must be open for her summon to become available.
What Does the Boss Drop?
The confirmed boss drop is the Gold Pendant. Using this pendant converts it into the Gold Blood Gem. That gem increases attack power against beasts. The Gold Pendant also carries important story information. Its description states that the pendant passes among the vicars heading the Healing Church. It preserves the cautionary adage connected with the gates of Byrgenwerth. The victory also awards Blood Echoes and Insight during normal progression. The boss’s documented New Game reward is 15,000 Blood Echoes. This guide avoids speculative or unverified reward lists beyond documented game data.
Healing Church Lore and the Gold Pendant
Amelia’s title places her at the head of the Healing Church during the hunter’s encounter. She is discovered kneeling in prayer before the Grand Cathedral altar. Her transformation shows that Church rank does not protect anyone from the beastly scourge. The Gold Pendant connects her office directly with earlier Church leadership. Its description says it passes among the vicars who head the institution. The pendant therefore represents both authority and a warning inherited through that office. The altar behind the boss is connected to Laurence, the first vicar of the Healing Church. Inspecting the skull after the battle reveals a memory and the Forbidden Woods password. The same interaction advances the world from evening into night. The Old Hunters later identifies Laurence as the Healing Church’s first vicar. Its lore states that he became the first cleric beast. That history gives Amelia’s transformation a deliberate parallel with the institution’s founder. Her encounter therefore functions as more than a progression gate. The Church’s current vicar becomes a beast while guarding a relic linked to its first vicar. The scene ties blood healing, Church authority, and beast transformation together without requiring speculation.
Frequently Asked Questions
Is Vicar Amelia optional in Bloodborne?
No, she is a required boss for normal story progression. Defeating her lets you inspect the Grand Cathedral altar and learn the Forbidden Woods password. That altar interaction also advances the time state from evening to night.
What is she weak to?
Fire and serrated attacks are her clearest documented weaknesses. Weapons such as the Saw Cleaver and Saw Spear can exploit the serrated bonus in appropriate forms. Fire Paper can add fire damage to compatible weapons.
How do you stop the healing prayer?
Throw Numbing Mist when she begins praying to stop the healing effect. Aggressive attacks can also interrupt the recovery if you pressure her quickly enough. Saving stamina near half health makes that response easier.
What level should you fight her?
Around level 30–35 is a practical target rather than a strict requirement. An original GameSpot guide recommends level 35 for the encounter. Weapon upgrades and your own familiarity with the moveset can matter more than several character levels.
Can you summon another player for the fight?
Yes, online hunters can be summoned with the Beckoning Bell while the boss remains alive. The bell costs one Insight to ring and requires online play. Cathedral Ward’s main plaza gate must first be opened before normal cooperation becomes available there.
Final Tips Before Entering the Cathedral
Prepare fire damage, place Numbing Mist where you can reach it quickly, and avoid fighting directly in front. Focused limb damage creates staggers and gives you safer offensive windows. The second phase becomes much simpler when every healing prayer is interrupted. After winning, collect the Gold Pendant and inspect the altar behind the arena. That interaction provides the password needed for the next major story route. For more gaming coverage, browse Magbuff’s gaming coverage, its Concord video game feature, and its gaming PC explainer. —